
JPG vs PNG vs WEBP: Which Image Format Should You Use?
A comprehensive comparison of JPG, PNG, and WEBP image formats. Learn when to use each format fo...
Read guideTurn a heavy PNG photo into a small, shareable JPG, up to 90 percent smaller. Transparent areas fill with a colour you choose, batches download as one ZIP, and nothing is uploaded.
Every screenshot below is this exact tool, converting a real 1.59 MB PNG to JPG.
Drag one PNG or a whole folder onto the box, or click to choose files. It loads instantly and stays on your device.
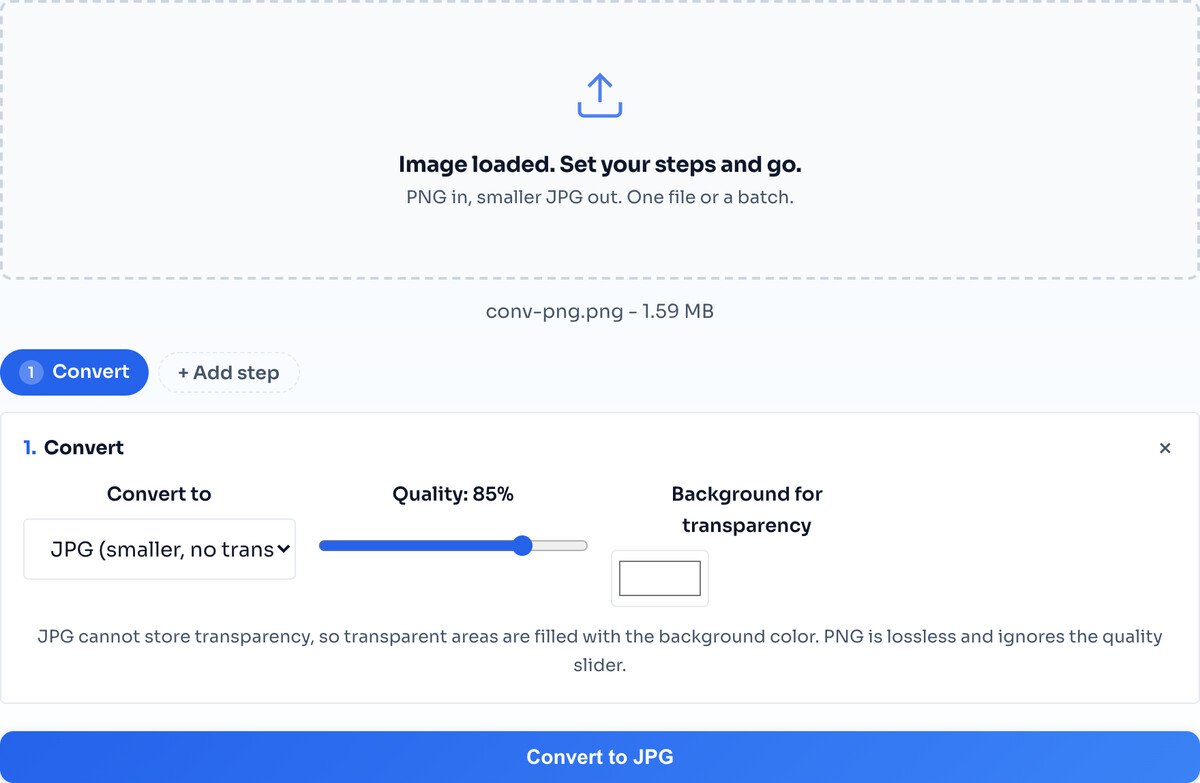
JPG cannot store transparency, so any see-through areas need a solid colour behind them. White is the default; change it if your image sits on a different background. You can also set a quality here.
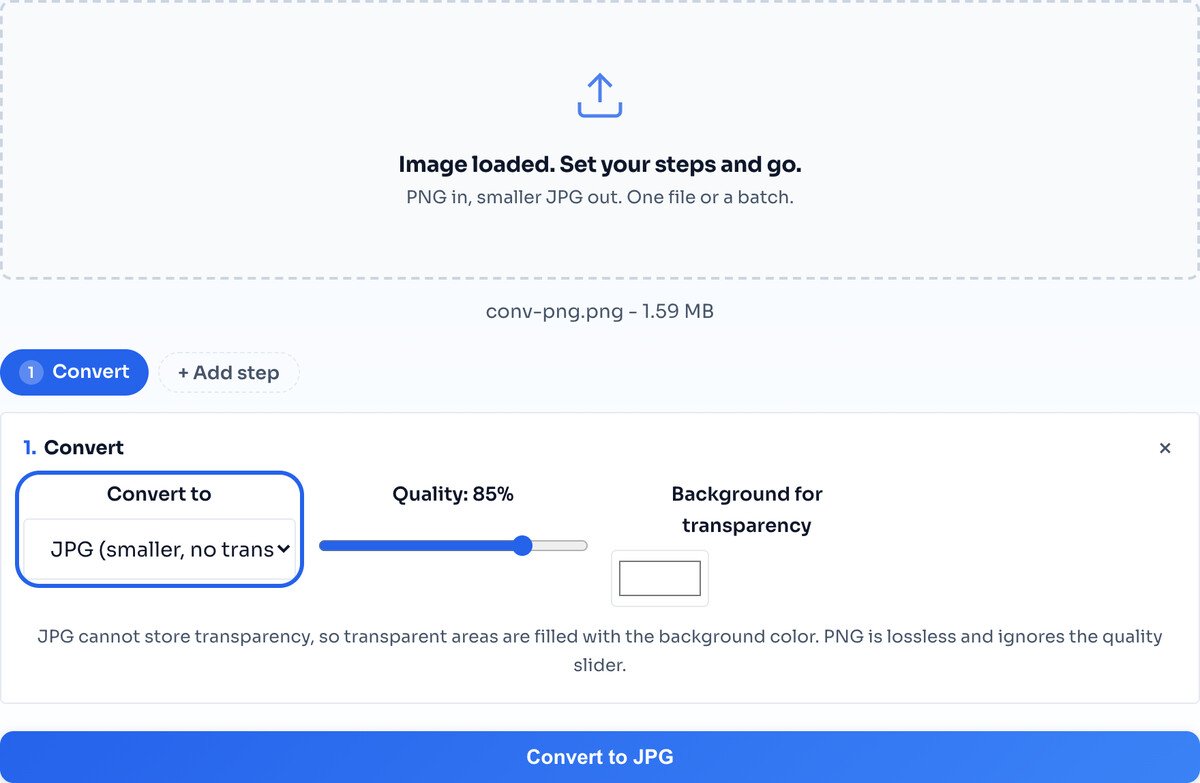
Hit Convert and the result row shows the JPG size against the original PNG. Download the single file, or a whole batch as one ZIP. Nothing saves until you click.
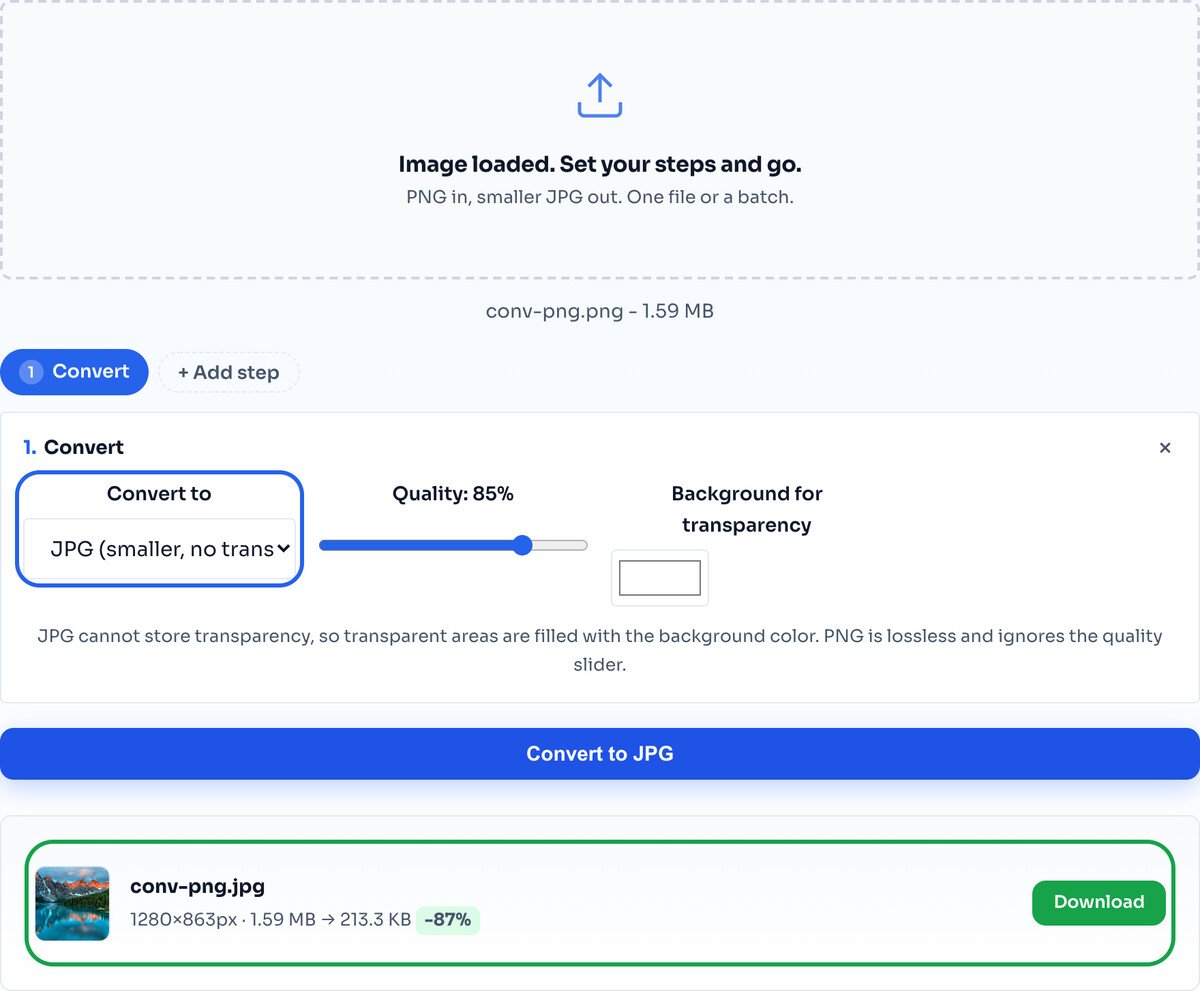
PNG stores a photograph pixel by pixel, which is why it gets so heavy. JPG compresses the parts your eye barely registers, so a photo drops dramatically with no visible change. Flat graphics do not shrink this way, which is the whole point of the next section.
PNG is lossless: it records every pixel exactly, with no compression that throws detail away. That is perfect for a logo or a screenshot with sharp lines, but a photograph has millions of subtly different pixels, and storing every one makes the file enormous.
JPG takes the opposite approach. It discards fine detail that human eyes do not notice, especially in smooth gradients and busy textures, and the result is a fraction of the size with no visible difference on a photo. That is why converting a photographic PNG to JPG routinely cuts 50 to 90 percent of the weight, while converting a logo saves almost nothing.
The rule of thumb: if the image is a photo, JPG is the right home for it. If it is a graphic with flat colour and sharp edges, keep it as PNG.
This is the single thing to know before converting. JPG has no way to store transparency, so the instant you convert a PNG with a see-through background, those areas have to become a solid colour. White by default, or whatever you pick in the tool.
For a photo with no transparency, this changes nothing. But for a logo or a cut-out product shot that you want to place on different backgrounds, converting to JPG bakes in one colour and you lose the flexibility for good. In that case, convert to WEBP instead, which keeps a full alpha channel like PNG while still being much smaller.
Converting to JPG fills every transparent pixel with a solid colour. If you need the background to stay see-through, convert to WEBP instead.
Logos, icons and screenshots barely get smaller as JPG, and they pick up ugly artifacts around sharp edges. Keep those as PNG or WEBP.
Once a JPG is made, the discarded detail is gone. Keep your original PNG if you might need to edit or re-export later.
They are filled with a solid colour, white by default, because JPG cannot store transparency at all. You can change that colour in the tool. If you need to keep a see-through background, convert to WEBP instead, which supports an alpha channel like PNG.
For photographs, the JPG is usually 50 to 90 percent smaller than the PNG; in our test a 1.59 MB PNG became a 213 KB JPG, 87 percent smaller. For flat graphics, logos and screenshots the gap is small or reversed, and for those PNG is the better format to keep.
JPG is lossy, so technically yes, but at quality 80 to 85 the change is invisible on a photograph. Avoid it for screenshots, logos and text, where JPG artifacts show up around the sharp edges.
No. Only photos genuinely benefit. Keep logos, icons, screenshots, sharp text and anything needing transparency as PNG or WEBP, where the size difference is small and the quality matters more.
No. Every non-transparent pixel is preserved. Only fully transparent pixels become the background colour you chose. The photo itself looks the same.
Yes. Drop a whole folder and each one is converted with the same settings, processed one after another to keep memory stable. Download them individually or as a single ZIP.
No. Conversion runs in your browser through the Canvas API, so your PNG never leaves your device. Turn off your wifi and it still works.
Go the other way, when you need lossless or transparency.
Open toolKeep transparency and still get a small file.
Open toolShrink the JPG further to an exact size like 100 KB.
Open toolAny format in, JPG, PNG or WEBP out.
Open toolChange dimensions in the same pass as the format.
Open toolCut out a background before choosing a format.
Open toolCompress a whole folder at once and download a ZIP.
Open toolConvert iPhone HEIC photos to JPG.
Open toolA comprehensive comparison of JPG, PNG, and WEBP image formats. Learn when to use each format fo...
Read guidePNG transparency lets you layer images over any background without white boxes or hard edges. Th...
Read guideShould you save screenshots as PNG or JPG? Learn the technical differences and when each format...
Read guideYour photo is 6 MB and the upload limit is 1 MB. Or your website takes seven seconds to load and...
Read guide

