
How to Redact and Blur Sensitive Information in Documents and Screenshots
Most people redact by drawing a box or smudging a blur over the part they want hidden. A...
Read guideStamp your name or site across a photo with full control over size, color, opacity and position. Tile it to make the mark impossible to crop out, and watermark a whole shoot in one batch. Nothing is uploaded, so even unpublished work stays private.
Every screenshot below is this exact tool tiling a mark across a real 1280px photo.
Drag one photo or a whole shoot onto the box. JPG, PNG or WEBP, and everything stays on your device, so even unpublished client work never leaves your computer.
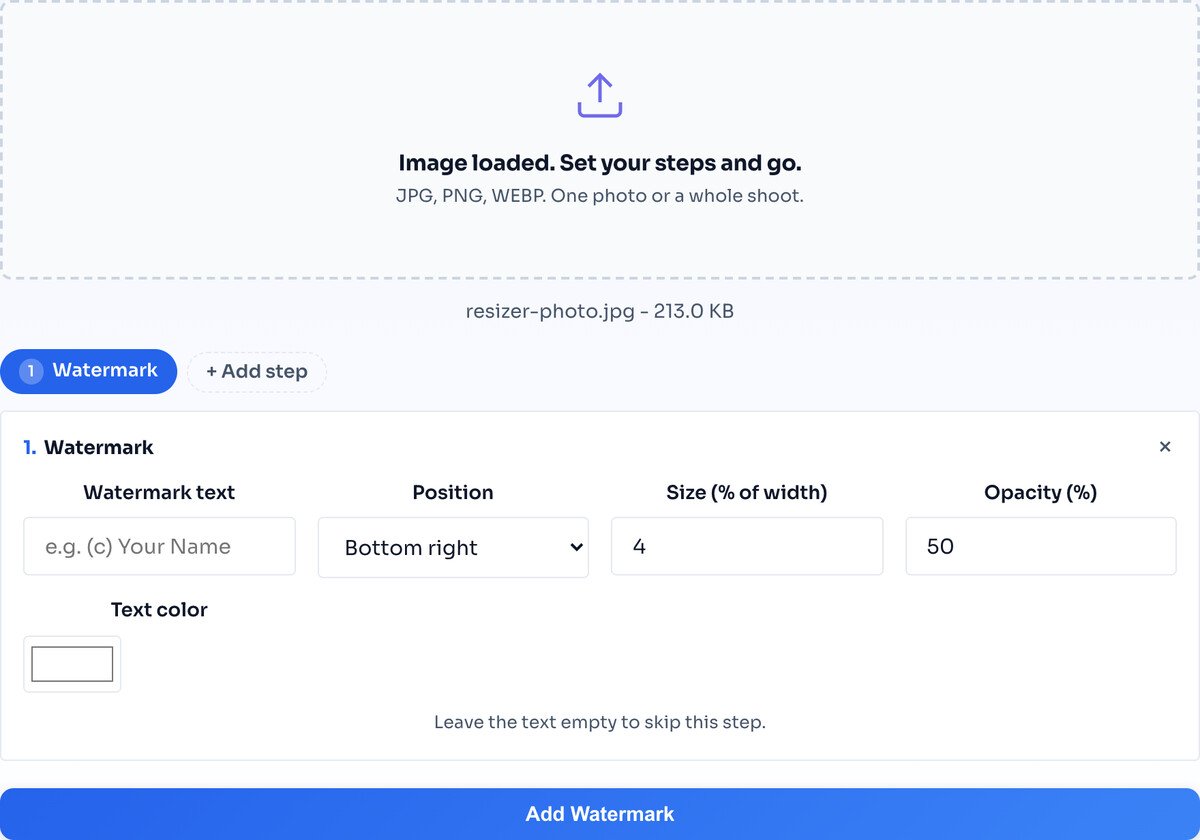
Enter your name or site, pick a corner or the Tiled option, and set the size, opacity and colour. Size is a percent of the image width, so a mixed batch of portrait and landscape frames all get a mark in the same visual proportion.
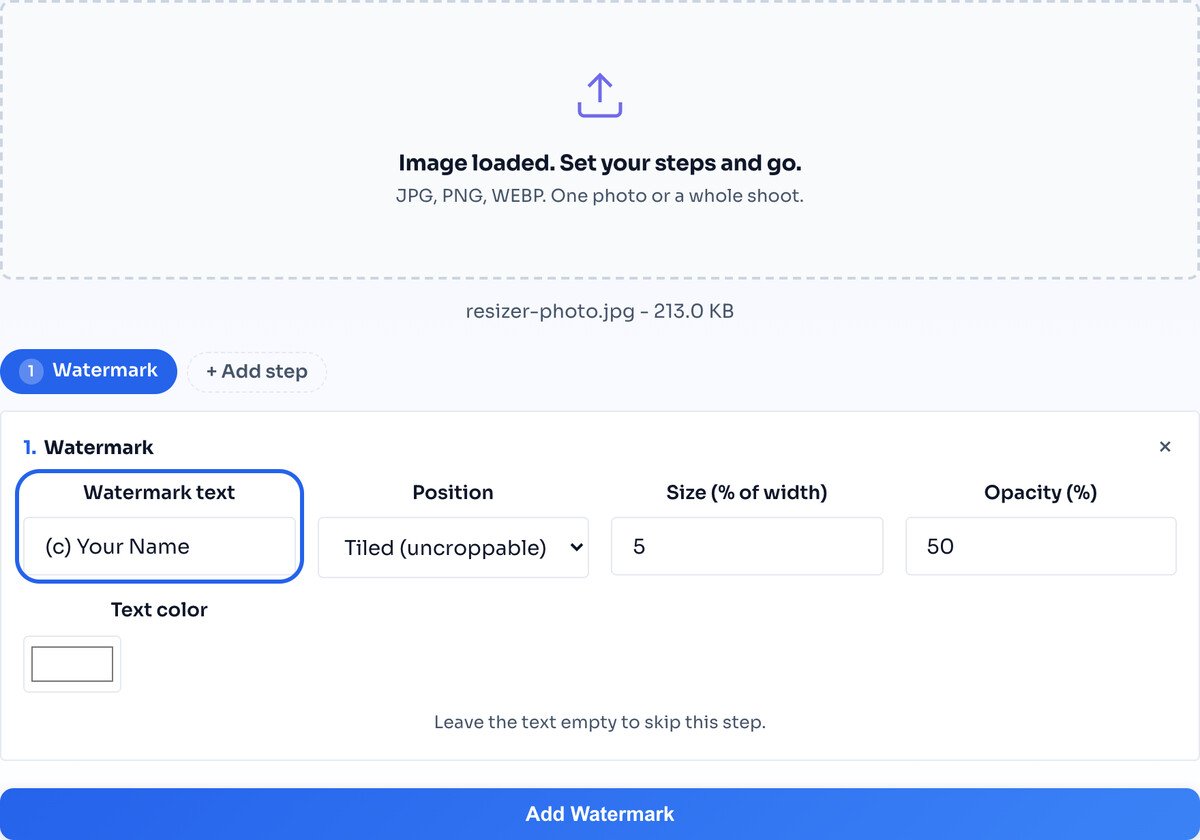
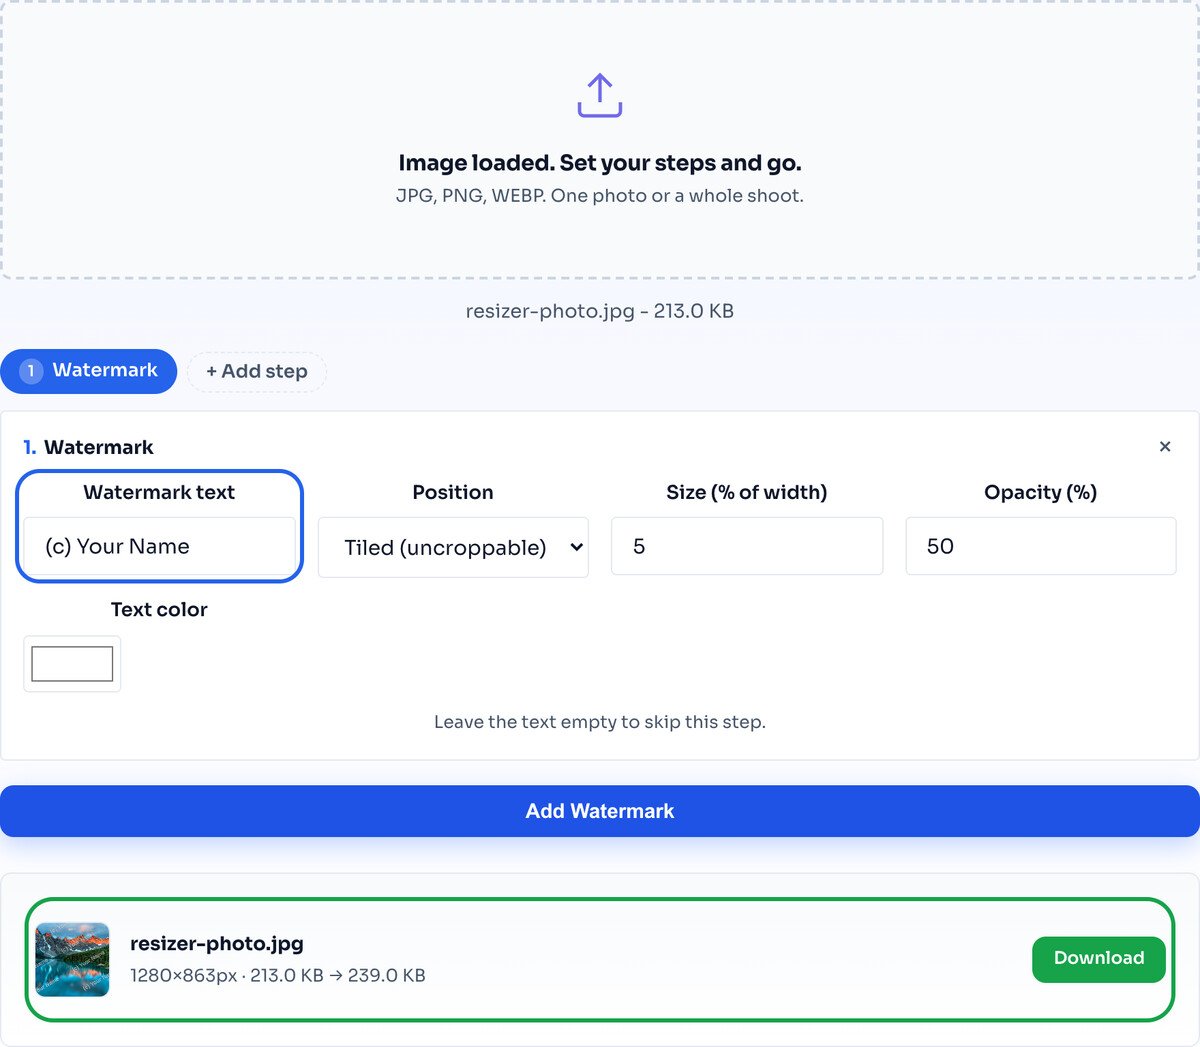
Hit Add Watermark and the result appears with the mark blended into the pixels. Download the single photo, or a whole shoot as one ZIP. Here the tiled mark added a little weight, 213 KB to 239 KB, and covers every part of the frame.
A single corner watermark protects almost nothing. The other ninety-five percent of the image is a free, clean crop, and lifting the mark takes about five seconds. A corner credit is politeness, not protection.
Tiled mode draws your text in a rotated grid that runs past every edge of the canvas, so whichever rectangle someone crops out, part of the mark comes with it. There is no clean area left to steal. Choose by what the image is worth: a casual share can take a corner mark, but a client preview or paid work should be tiled.
Either way, the mark is not a layer sitting on top. At export the text is alpha-blended into the pixel values themselves at your chosen opacity, so nothing can switch it back off. Undoing a tiled mark means repainting the photo by hand.
Opacity 40 to 60 percent is the sweet spot: clearly visible without burying the photo. Push to 70 or 80 for preview images you want unmistakably claimed, and drop to 30 for a subtle portfolio credit.
Size 4 to 6 percent of the image width reads well on most photos. Go smaller for a quiet corner credit, larger for previews you want impossible to miss.
Colour should contrast with the photo. White works on most images; switch to black or a brand colour when the photo is bright or pale.
A determined editor with time can still repaint a tiled mark out. The point is to make theft more work than the image is worth, which stops the casual right-click-and-repost, not a专 professional forger.
You can use any text in any colour, but a logo image overlay is not available yet. It is one of the most requested additions, so ask on the contact page if you need it.
A watermark claims ownership; it does not conceal anything. To hide a face, plate or private detail, use the Blur and Pixelate tool, which destroys the pixels rather than covering them.
A single corner watermark, yes, in about five seconds. That is exactly why the tile option exists: it repeats your mark diagonally across the entire image, edges included, so every possible crop still contains it. For anything you genuinely do not want lifted, tile it.
No. The text is blended into the actual pixels at your chosen opacity, so after export there is no separate layer to delete. Removing a tiled mark would mean manually repainting large parts of the photo, which is far more work than the image is usually worth to a thief.
Yes, and that is the workflow this tool is built around. Drop the entire shoot in one go, and the same mark is stamped on every photo at the same relative size, then download everything as one ZIP. Because size is set as a percent of width, portrait and landscape frames come out looking consistent.
Around 40 to 60 percent opacity is the sweet spot: clearly visible without burying the photo. For size, 4 to 6 percent of the image width reads well on most photos; go smaller for a subtle corner credit, larger for preview images you want unmistakably claimed.
Text only for now, in any color. A logo overlay is on the roadmap, and it is one of the most requested additions, so tell me via the contact page if you need it and it moves up the list.
Safer than any upload-based watermark site, because the photos never leave your computer. The marking happens in your browser through the Canvas API, so there is no server copy of the unwatermarked originals anywhere, which is the whole risk with online tools and pre-release work.
Shrink the marked photos before sending them out.
Open toolSize the shoot for web or client preview first.
Open toolFrame each shot before you protect it.
Open toolCompress the whole marked batch in one pass.
Open toolHide information instead of claiming ownership.
Open toolCheck what hidden data your photos carry too.
Open toolA consistent look for the set before marking it.
Open toolDeliver the marked files in the format the client needs.
Open toolMost people redact by drawing a box or smudging a blur over the part they want hidden. A...
Read guideInstagram resizes, crops and recompresses everything you upload, so the dimensions you export...
Read guideEvery platform wants a slightly different size, and getting it wrong crops your face off or...
Read guideYour photo is 6 MB and the upload limit is 1 MB. Or your website takes seven seconds to load...
Read guide

