
Resize, Convert and Compress an Image in One Pass
One photo, three tools, three uploads: the workflow everyone suffers through. Here is how to...
Read guidePosition your face inside the exact circle that LinkedIn, Slack, Discord and X will show, so nothing gets clipped where you cannot see it. Exports a square PNG with transparent corners at 400, 512 or 1024 pixels. Nothing is uploaded.
JPG, PNG, WEBP, square or rectangular
Three moves, and the preview is the finished avatar rather than a square you hope survives the crop.
Any JPG, PNG or WEBP works, portrait or landscape. The image is scaled to cover the circle immediately, so a wide photo loses its sides and a tall one loses its top and bottom before you touch anything. That is the crop you are now adjusting.
Drag the photo inside the circle to move it and use the zoom slider to push in on your face. The checkerboard is genuine transparency, not a background, so what you see outside the circle is what will be empty in the file. The ring is optional and sits on the circle edge.
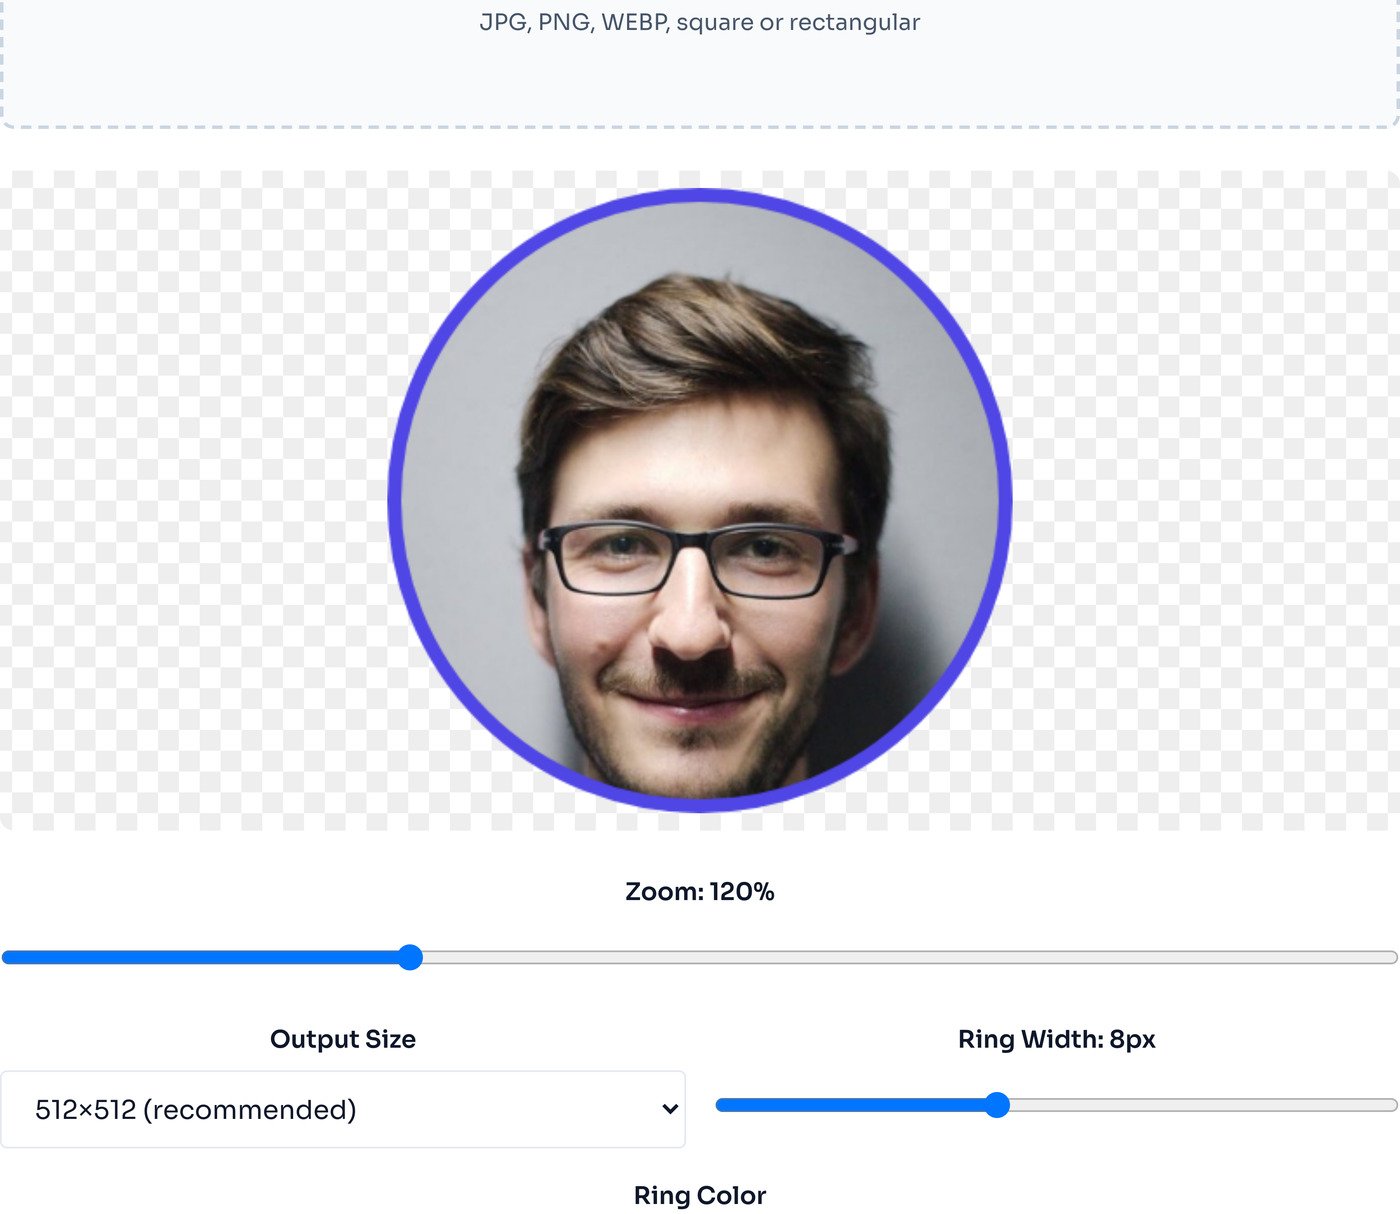
Choose 400, 512 or 1024 and download. The file arrives as profile-512.png or whichever size you picked, square, with the circle drawn and the corners left transparent. Nothing was sent anywhere to make it.
We ran the same 600 by 600 portrait, a 42.9 KB JPG, through the tool at each output size and weighed the files that came out.
PNG is lossless and keeps transparency, so every export is heavier than the JPG it came from. The 1024 file is 19.5 times the size of the source photo.
Taken from each platform's own documentation rather than a roundup, and checked in August 2026.
| Platform | Stated requirement | How it is displayed |
|---|---|---|
| Between 400 by 400 and 7680 by 4320 pixels | Circle | |
| Slack | Minimum 512 by 512, no larger than 1024 by 1024 | Rounded square, not a true circle |
| GitHub | PNG, JPG or GIF, under 1 MB and smaller than 3000 by 3000. About 500 by 500 recommended | Circle |
The GitHub limit is the one worth watching here: our 1024 pixel export came out at 836.9 KB, which clears 1 MB but not by much. A busier photo can push a 1024 PNG past it, so 512 is the safer choice for a GitHub avatar.
An avatar is tiny on screen. A comment thread might draw yours at 32 or 40 CSS pixels, a profile header at 128. It is tempting to export at that size, and it is the fastest way to get a blurry avatar.
The reason is device pixel ratio. A phone or a modern laptop packs two or three physical pixels into every CSS pixel, so a 40 pixel avatar slot needs 80 or 120 real pixels to look crisp. On top of that, platforms generate their own set of thumbnails from whatever you give them, and downscaling on a server produces a cleaner result than a browser stretching a small file upward. Give them more pixels than they need and every derived size benefits.
That is the reasoning behind the 512 default. It satisfies the stated minimum everywhere we checked, survives being scaled down to a 32 pixel comment badge, and still leaves room for a platform that decides to show a larger version later.
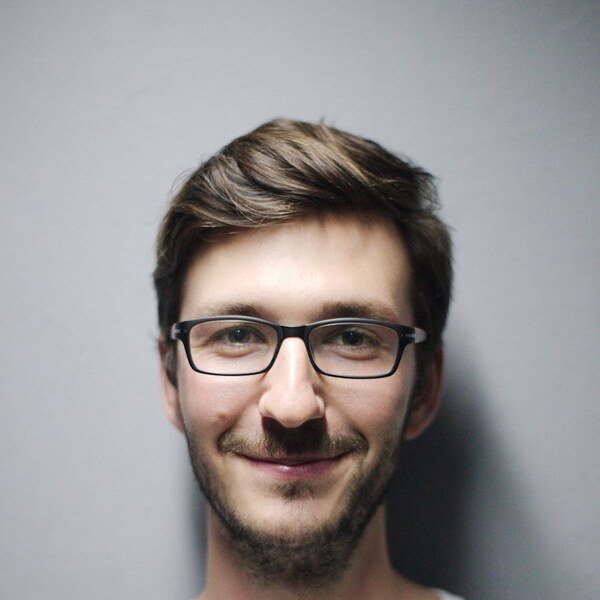
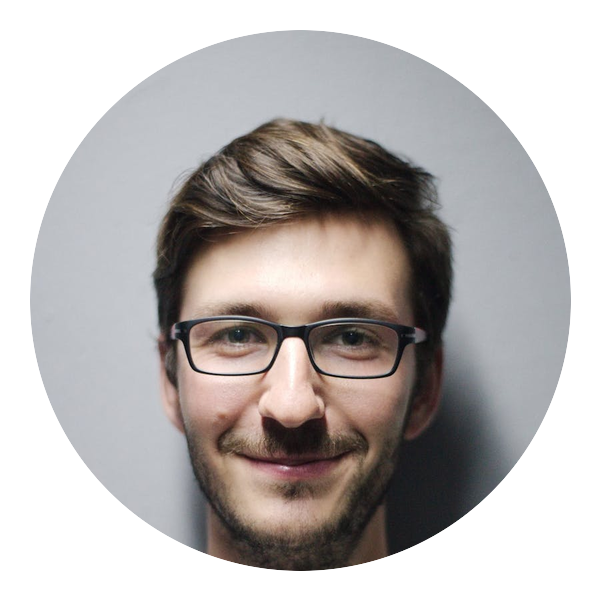
A circle inscribed in a square covers pi divided by four of its area, which is 78.5 percent. The missing 21.5 percent is not spread evenly either, it is taken entirely from the four corners. A corner pixel sits about 1.41 times further from the center than the edge of the circle, so anything parked out there is not close to surviving.
In practice that means two things. Whatever you want people to see belongs near the center, and shoulders, hair and hat brims that reach the corners of your photo will be gone. It also means a photo framed for a square crop is usually framed too wide for a circle, which is why avatars so often end up with a small head floating in the middle.
Leave a margin as well. The circle here runs edge to edge with no built-in padding, and platforms are not consistent about what they do next. Slack draws a rounded square rather than a circle, some apps zoom very slightly on hover, and a ring will cover the outermost pixels. Keeping your face inside roughly the central 80 percent of the circle absorbs all of that. Eyes sitting a little above the middle reads better than a perfectly centered face, which is the same rule portrait photographers use for the upper third.
There is no face detection here. You drag and zoom until the framing is right, which takes about five seconds and never crops someone out of a group photo by accident. If you want to trim the original down before framing, the image crop tool does rectangles and fixed ratios.
The photo is scaled to cover the circle at 100 percent, so zooming out leaves transparent wedges rather than empty white. We measured 6.9 percent of the circle left empty at 90 percent zoom, 36.9 percent at 70 and 67.8 percent at 50. Zoom out only if you actually want that gap.
Transparent corners require an alpha channel and JPG has none, so every export here is a PNG. When a service wants a small opaque file instead, send the PNG through the image converter and choose JPG with a background color, or run it through the compressor to hit a byte limit.
Choosing 1024 when the photo is 600 pixels wide does not add detail, it interpolates and softens exactly the areas people look at. Match the export to what the original can support, and enlarge deliberately with the image upscaler first if you need to.
The ring is drawn along the circle edge, so its inner half covers your outermost pixels. At the maximum 20 pixel width that is roughly 10 pixels hidden all the way around. Set the ring before you finish framing, not after.
Backgrounds, color and blemishes are easier to fix on the full frame. Take the background out with the background remover or warm the image up in photo filters, then bring the result here and frame it. Cropping first throws away the pixels those tools need.
Every platform stores a square file and draws a circular mask over it at display time. If you crop square and guess, the mask decides what gets cut. Cropping against a real circle means the thing you approve is the thing other people see. The corners of the square are simply discarded, which is 21.5 percent of the area you started with.
512 by 512 is the safest single answer and it is the default here. It clears the minimum on every mainstream platform, stays well under file size caps, and gives high-density screens enough pixels to work with. Choose 1024 when a platform accepts it and you want headroom, or 400 when a service states that as its ceiling.
Yes. The export is a PNG with the circle painted and everything outside it left fully transparent, so the avatar sits cleanly on a dark or light background. If a platform needs an opaque square instead, run the PNG through the image converter and pick JPG with a background color.
PNG is lossless, so it cannot throw away detail the way a JPG does. In our own test a 42.9 KB JPG portrait came back as a 299.2 KB PNG at 512 pixels and 836.9 KB at 1024. That is normal and it is the price of transparent corners. If you are near a byte limit, compress the PNG or convert it to JPG once you no longer need transparency.
You can, but below 100 percent the photo stops covering the circle and you get transparent wedges at the edges. We measured 6.9 percent of the circle left empty at 90 percent zoom and 67.8 percent at 50 percent. If you need more of the scene in frame, crop the original wider first in the image crop tool, then bring it here.
It does. The ring is stroked along the edge of the circle, so its inner half sits on top of the outermost pixels of your photo. A 20 pixel ring hides roughly the outer 10 pixels all the way around. Frame with that in mind, or leave the ring at zero.
No. Exporting larger than your source does not create detail, it interpolates. A 600 pixel photo pushed to 1024 is soft in exactly the places that matter, around the eyes and hairline. Export at or below your source resolution, and if the original is genuinely small, try the image upscaler before cropping.
No. The file is read by your browser, drawn to a canvas and encoded there. Nothing is sent anywhere, which you can confirm by opening your network tab, or by disconnecting from the internet and using the tool anyway.
Rectangular crops and fixed ratios, before you go circular.
Open toolCut the background out first for a clean avatar.
Open toolThirteen looks with live preview, including grain.
Open toolHit a byte limit exactly, with an automatic quality search.
Open toolPNG to JPG with a background color when transparency is not wanted.
Open toolExact pixel sizes for headers and banners.
Open toolEnlarge a small portrait before cropping it.
Open toolCheck what camera and location data a photo carries.
Open toolOne photo, three tools, three uploads: the workflow everyone suffers through. Here is how to...
Read guideEvery platform wants a slightly different size, and getting it wrong crops your face off or...
Read guideA comprehensive comparison of JPG, PNG, and WEBP image formats. Learn when to use each format...
Read guideYou drop a photo into a free online compressor, a bar fills up, and a smaller file comes back...
Read guide

